
Your shopping cart is empty!
Categories
Bestsellers

Live Chat
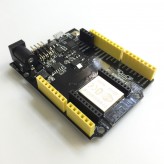
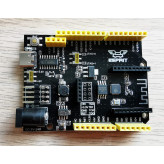
ESP32 OBD Dev Kit


Price: US$75.00 US$69.90
Qty:
- OR -
Add to Wish List
Add to Compare
Add to Compare
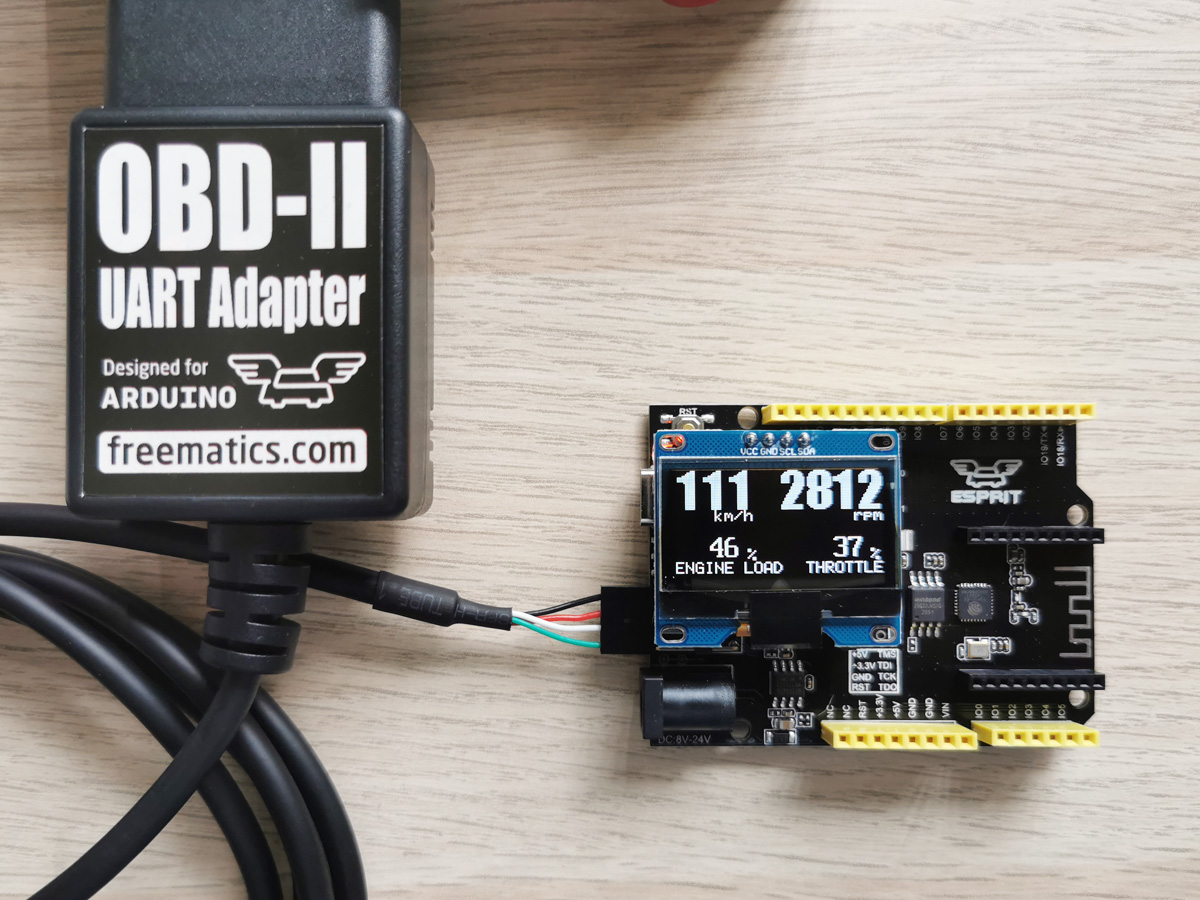
Based on Freematics ESPRIT C3, the ESP32-C3 dev board in Arduino UNO form factor, together with 1.3" OLED display and Freematics OBD-II UART Adapter, this kit can be programmed with Arduino (ESP32 core) and is easy to start prototyping for connected car applications.
BLE
ESP32 has built-in BLE and can be configured to work as GATT server which smartphones and tablets with BLE can connect to. It can also work as GATT client to connect to other BLE central device.
WiFi
ESP32 has built-in 802.11 b/g/n WiFi transceiver and can easily work as a web server or client.
Parts Assembly
The kit consists following parts.
- Freematics ESPRIT C3 (ESP32-C3)
- 1.3" OLED Display Module (SH1106, I2C, 128x64px)
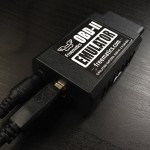
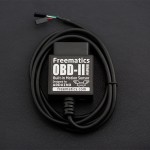
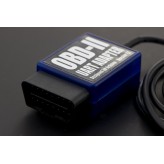
- Freematics OBD-II UART Adapter V1
- USB Cable
To assemble the kit,
- Plug in the OLED display into the board's I2C socket
- Connect OBD-II UART adapter to the board's serial UART pins as picture shown below

Code Uploading
The example code (simple_obd_display) can be downloaded here or obtained from Github. The download zip file also contains libraries for the OLED display and Freematics OBD-II UART Adapter. The code runs as car live data display. Once the OBD-II adapter is connected to a car's OBD port, it powers up the kit and live data from the car will be displayed on the OLED display.
The board comes with the code pre-flashed so the kit will work right away after assembled and powered.
Uploading code with Freematics Builder
- Download and install Freematics Builder
- Connect Freematics Esprit board to computer by USB cable
- Launch Freematics Arduino Builder
- Click Load Sketch button to load simple_obd_display.ino
- Choose Freematics Esprit C3 as board type
- Click on serial port to start compiling and uploading
Uploading code with PlatformIO
- Download and install Visual Studio Code and PlatformIO extension
- Connect Freematics ESPRIT board to computer by USB cable
- Launch Visual Studio Code
- Click on File menu and then Open Folder
- Choose the folder containing the .ino file
- Click upload button on toolbar to start uploading
Shipping List
- Freematics ESPRIT C3 Dev Board *1
- Freematics OBD-II UART Adapter V1 *1
- 1.3" I2C OLED module *1
- USB Type C cable *1 (optional)
Links
Powered By OpenCart
Freematics Store © 2024
Freematics Store © 2024