
Your shopping cart is empty!
Categories
Bestsellers

Live Chat
Freematics Nano Kit (Arduino Nano based)
")
")
")
")
")
")
")
")
Price: US$69.90
Qty:
- OR -
Add to Wish List
Add to Compare
Add to Compare
This kit contains basic components needed to put up a device that can read vehicle data and display it on a OLED display module. You can place it anyway on your dashboard that you feel comfortable or make a enclosure for it. The kit consists of:
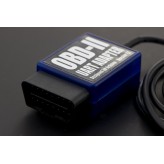
- Freematics OBD-II UART Adapter
- Arduino Nano compatible with USB-C interface
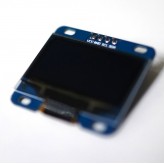
- 1.3" (SH1106) I2C OLED module
- Wires needed for connecting all parts
- Ready-to-go Arduino sketches for the kit
Wiring
All the parts can be connected with wires as following diagram and no soldering is needed. The Arduino OBD-II Adapter provides OBD-II connectivity for the Arduino Nano as well as DC 5V for Arduino Nano and its attached components. There is no need for additional power cord.
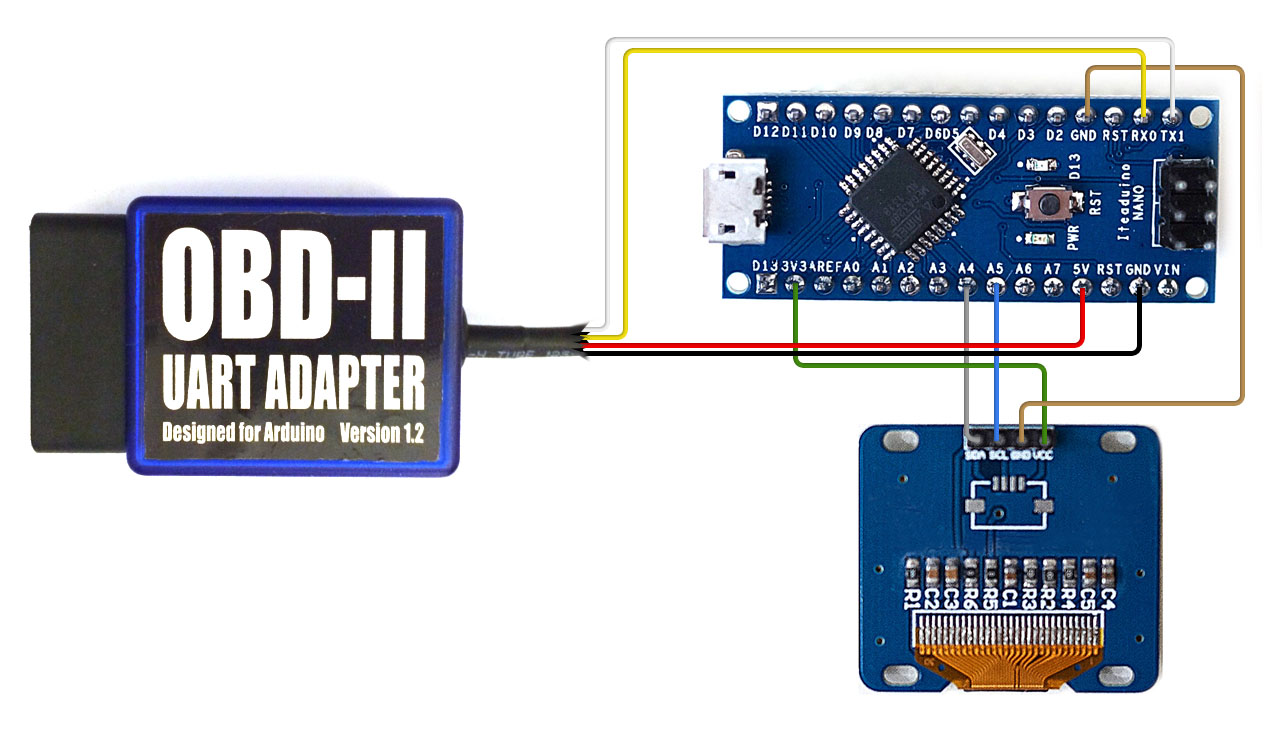
Connecting OBD-II to Arduino Nano
The OBD-II adapter provides power for Arduino and serial UART connection.
- TxD (green line) <-> Arduino D0 (RxD)
- RxD (white line) <-> Arduino D1 (TxD)
- 5V (red line) <-> Arduino 5V
- GND (black line) <-> Arduino GND
Note: Arduino Nano only has one hardware serial which is also used by USB serial. You need to upload sketch through USB before connecting the adapter.
Connecting Arduino with I2C OLED module
The OLED module can be powered by either 3.3V or 5V. It has 4 pins at the back.
Pins to to wire:
- VCC <-> Arduino 3.3V
- GND <-> Arduino GND
- SDA <-> Arduino SDA (A4)
- SCL <-> Arduino SCL (A5)
Sketch
If you don’t know how to compile and download a sketch to Arduino, please visit official Arduino website for tutorials.
If you do, then read on. Before loading the sketch in Arduino IDE, you need to install the OBD-II library for your Arduino IDE which you need to access OBD-II data via the OBD-II adapter. If you don’t know how to do this, please referto this guide.
At the moment, we provide 2 Arduino sketches which work out-of-box with a connected kit. Simply compile and download the sketch to the Arduino Nano via USB and that’s all. Of course, you can spend some time later to read and tweak the code.
NanoLogger
The sketch of NanoLogger display a set of live data on the OLED screen. It also logs data if a microSD or SD card module if attached.
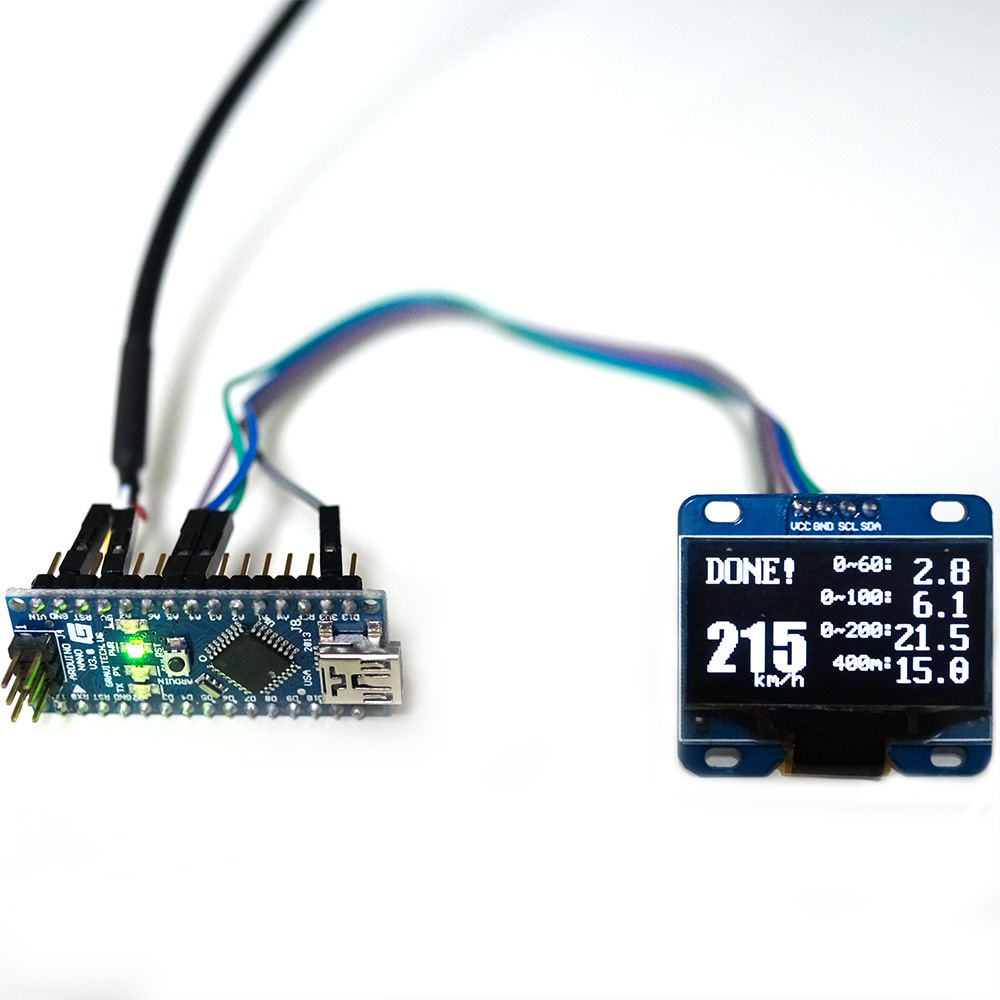
NanoTimer
The sketch of NanoTimer will turn your kit into Performance Box like device. It displays live speed (from OBD-II) of the vehicle and the time used for reaching speed of 60km/h, 100km/h, 200km/h and distance of 400m. Measuring is started automatically (when vehicle starts moving).
Links
Powered By OpenCart
Freematics Online Store © 2024
Freematics Online Store © 2024